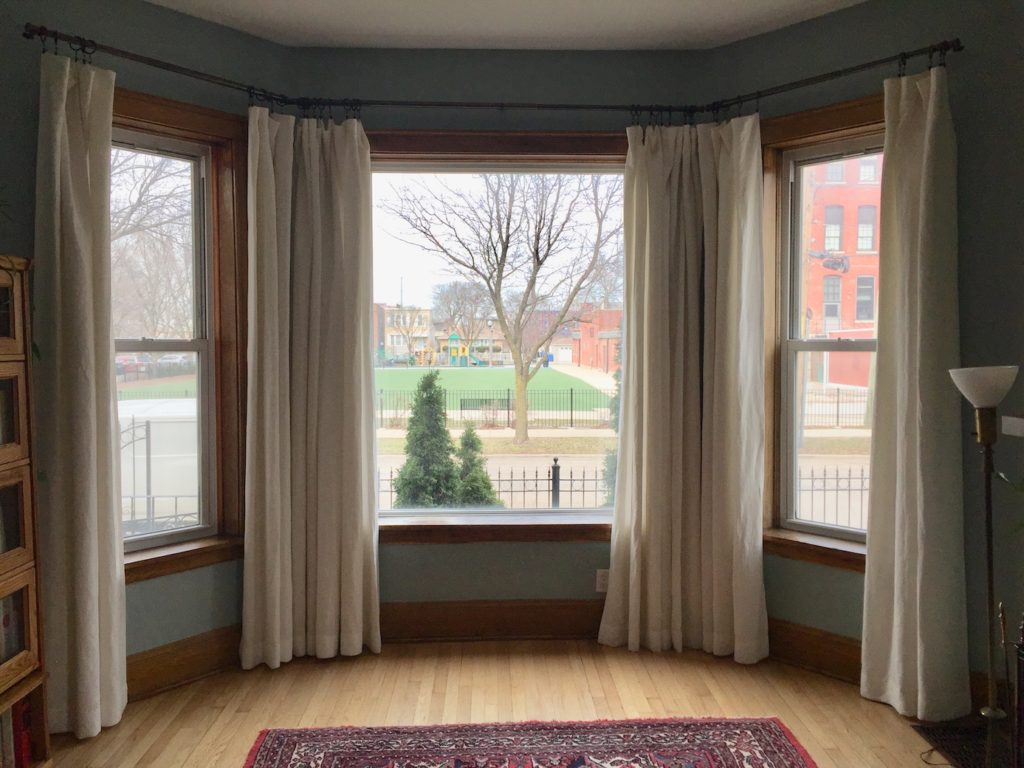
If you are trying to “dress” historic windows, which are often enormous or in non-standard sizes, you might have already learned that ready-made curtains, shades, and blinds that you can buy at the store are often not an option. You might also have learned that the options you do have are quite expensive. I’ve painstakingly researched how to cover my historic windows in a way that’s both affordable and attractive, and in this series I’ll share my experience and extensive research with you.
The first option I’ll be sharing is making your own curtains. This is obviously one of the more time-consuming options, but there are two reasons why I chose this option for this particular project: 1) This project involved a large, picture window requiring extra wide panels, and 2) I had my heart set on linen curtains, which are quite pricey. I was struggling to find linen curtains that were large enough, and when I did they were hundreds of dollars per panel. In fact, the only linen curtains I found that were both long and wide enough for my picture window were actually more than $500 per panel!
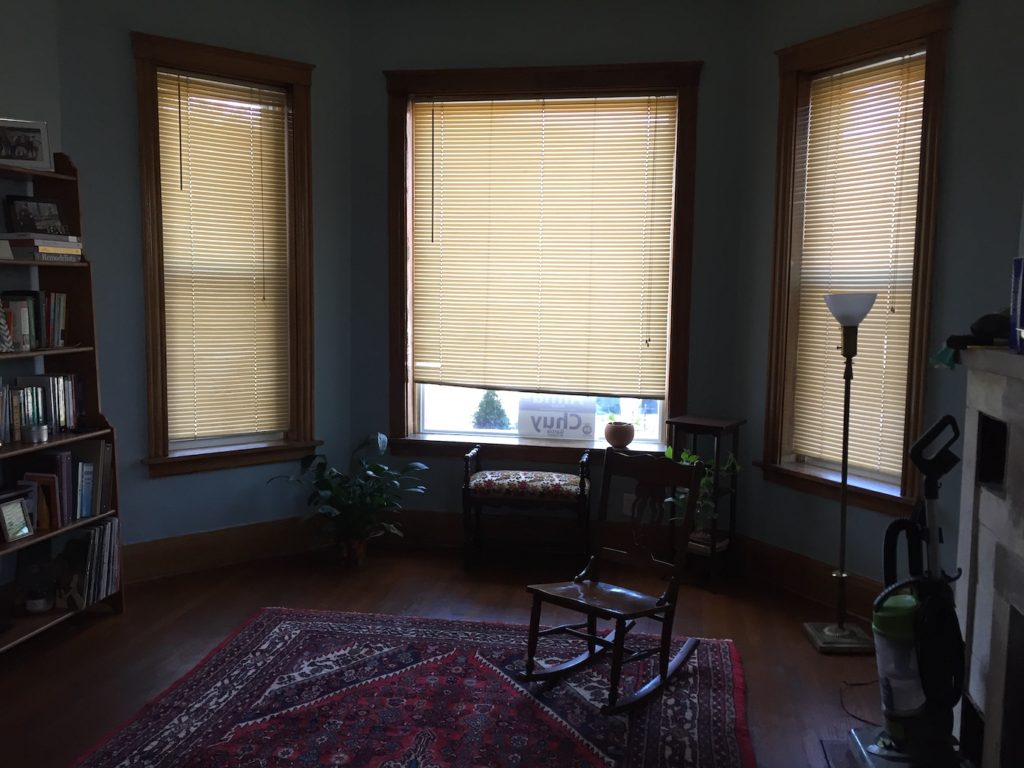
If you follow interior design trends, you’ll know that the standard nowadays for curtains is that they be hung on a rod that’s mounted above the window frame (some designers even suggest hanging the rod just below the ceiling!) and that they go all the way to the floor. Whether they’re just above, “kissing,” or puddling on the floor is a matter of aesthetic preference. Emily Henderson has a great post with all of these guidelines for hanging curtains. The longest curtains offered at most stores are 96” and if the top of your window frames are 103″ from the floor like mine, 96” won’t do the job. Some stores offer 108” length, but frankly these are usually at higher-end stores, and again, if you have a picture window, they will not be wide enough or if they are wide enough they will, again, generally only be available from high-end retailers.
For my linen curtain making project, I was inspired by this Remodelista post, in which the author describes how she made her own linen curtains. However, in that post, the author admits that her panels are not wide enough but that she doesn’t close the curtains, so it doesn’t matter. The thing is, if you have a drafty old house, you will probably want to be able to close the curtains because they can be a significant source of insulation. Plus, if the panels aren’t wide enough, they might not look full enough even when they are open. So, I still needed to find extra wide fabric for my picture window. Most of the linen fabric I found online was about 54”-60” wide, which would not be wide enough. Could I have sewn two pieces of fabric together lengthwise to get the width I needed? Sure. I just didn’t want to. I can be kind of particular.
After tons of research I found Gray Lines Linen, which offers 120” wide linen fabric that only costs $19.95 per yard. Given that 60” wide fabric easily costs at least $15.00 per yard, that price is excellent. The tricky thing is that their website is a little confusing, so you need to be willing to ask the right questions and order swatches in order to get what you want. I knew I wanted to line the curtains for them to be more insulating, and I chose a sateen linen fabric from Online Fabric Store. At the time of purchase, it was $3.50 per yard, but it’s more now. For the lining, I would sew two pieces together lengthwise to get the width I needed for the picture window since the lining would be less visible. For hardware, I followed the lead of the Remodelista post and used the Cambria rod and rings from Bed, Bath, and Beyond in oil-rubbed bronze.
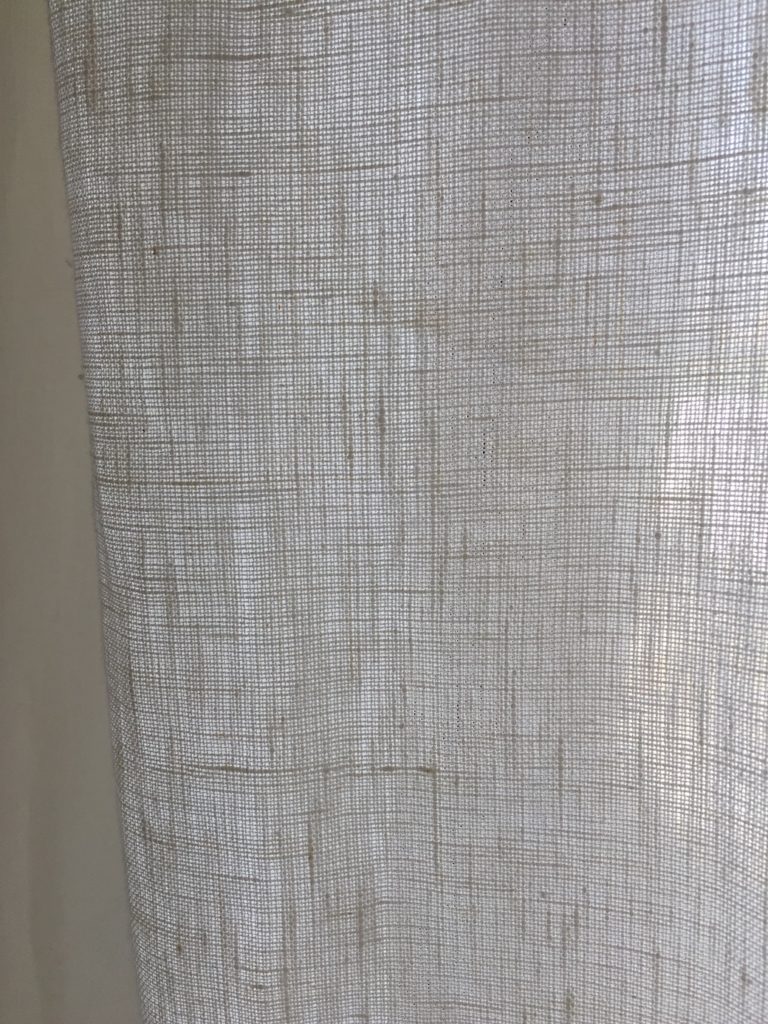
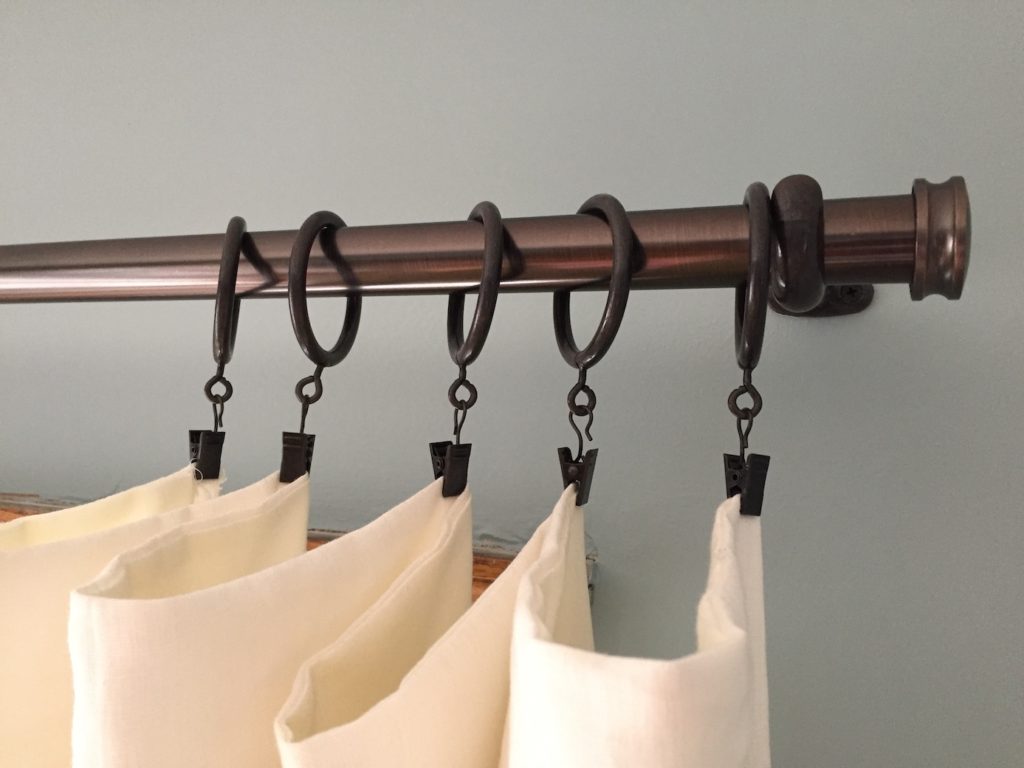
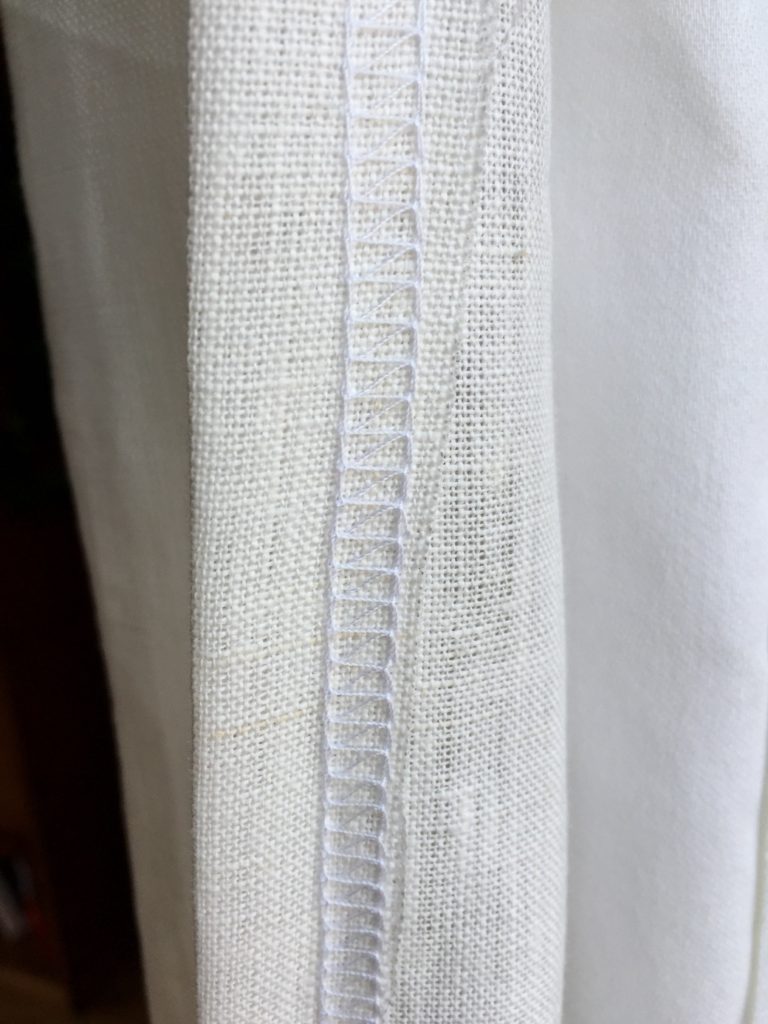
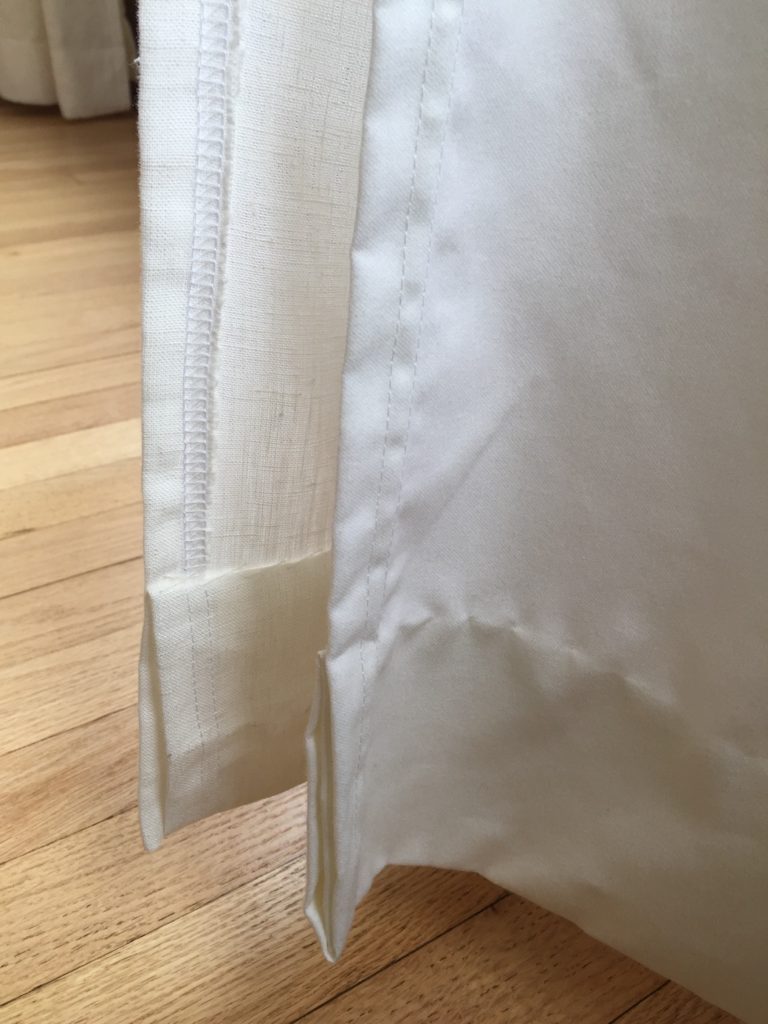
When it came time to actually make the curtains, the most difficult part was dealing with such large pieces of fabric. Fortunately, my mother-in-law is an excellent seamstress and crafter and offered to help me with the project. She also has a serger, which made finishing the seams super quick. Note that you don’t need a serger to make curtains – it just makes it faster since you only need to fold the fabric over once at the seam. There are countless ways to make curtains, but for these, we essentially sewed the linen to the lining at the very top and then then finished off the side seams with the serger. Since I was using curtain rings, we didn’t have to worry about a rod pocket or anything like that. Admittedly, this took a long time since I have three windows, and my MIL had to come back another day to help me with the bottom hems. Those we hand stitched after the curtains were hung. Some of the hems are a little uneven (my fault – not hers), but it’s the kind of thing that probably only I notice. I tell myself that someday I’ll take out the hems of the really uneven ones and redo them, but realistically I won’t.
Another confession is that the rods were a hassle to hang on my plaster walls and some of them are loose. Hanging heavy things on plaster walls is something that I have admittedly not mastered. Every time I have to do it I dread it. As you can probably guess, I’ve researched what needs to be done, but I just can’t get a tight fit with any of the anchors I’ve tried, including toggle bolts. This probably isn’t the best method, but I’ve had the best luck with just using super long screws that will hit the lath behind the plaster, rather than using anchors. It’s something I’m just going to need to keep practicing and trying to figure out, and I will probably have to re-secure these rods at some point.
Here’s the cost breakdown of this project:
- Linen fabric: $287.07
- Lining fabric: $91.00
- Rods & rings: $163.90 (with 20% off coupon)
Frankly, because I’m only an occasional sewer, I frequently make the mistake of buying too much fabric, and this project was no different, so I could have spent even less on the fabric had I planned more carefully and bought less. In any case, I hope this post has given you a better idea of how to go about making your own curtains, where you might buy supplies, and what you may have to consider along the way. This project was pricey and time-consuming, but totally worth the savings compared to buying the high-end ready-made curtains I would have had to buy given the size of the windows.

