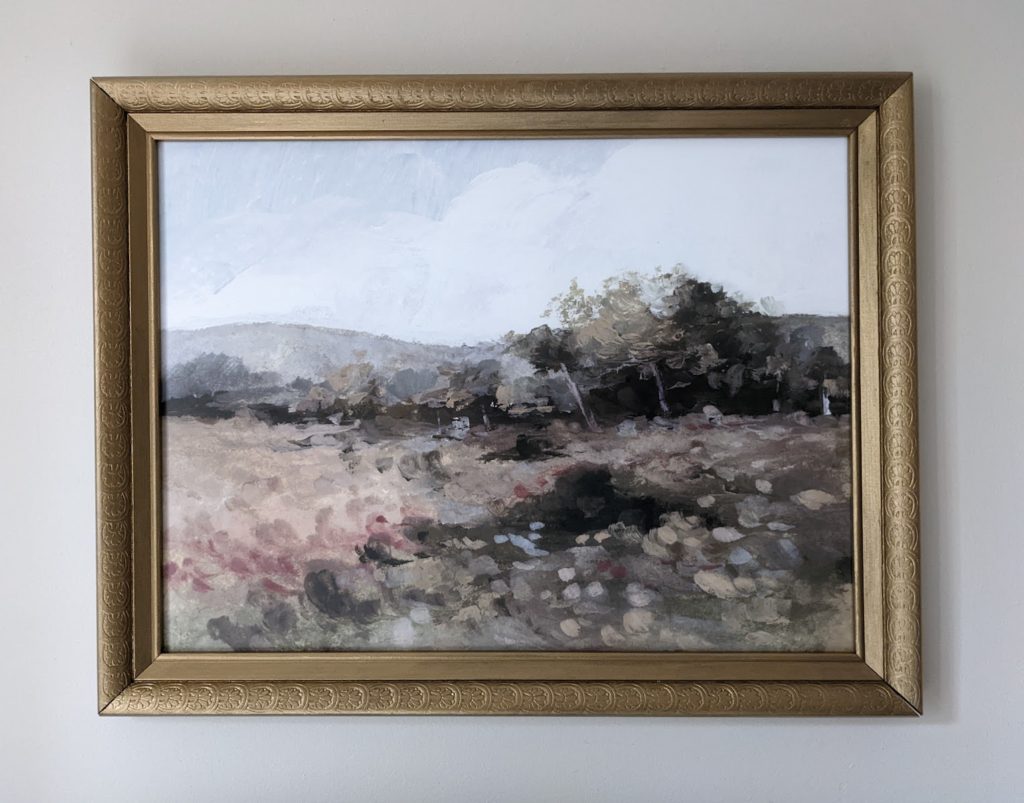
If you frequent estate sales or flea markets, you might have seen empty antique frames – just the frames, with no glass or backing – and thought, gee, those are neat, but how am I supposed to use that? For my latest DIY project, I decided to use one of those old frames, and the finished product is now hanging over my bed.
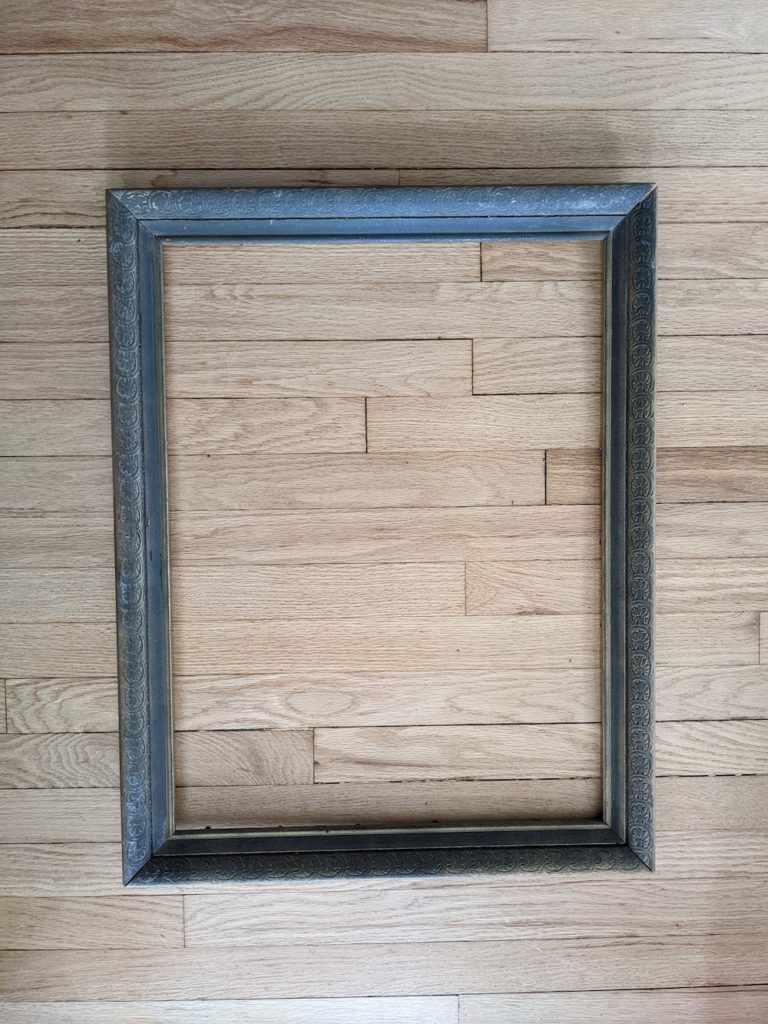
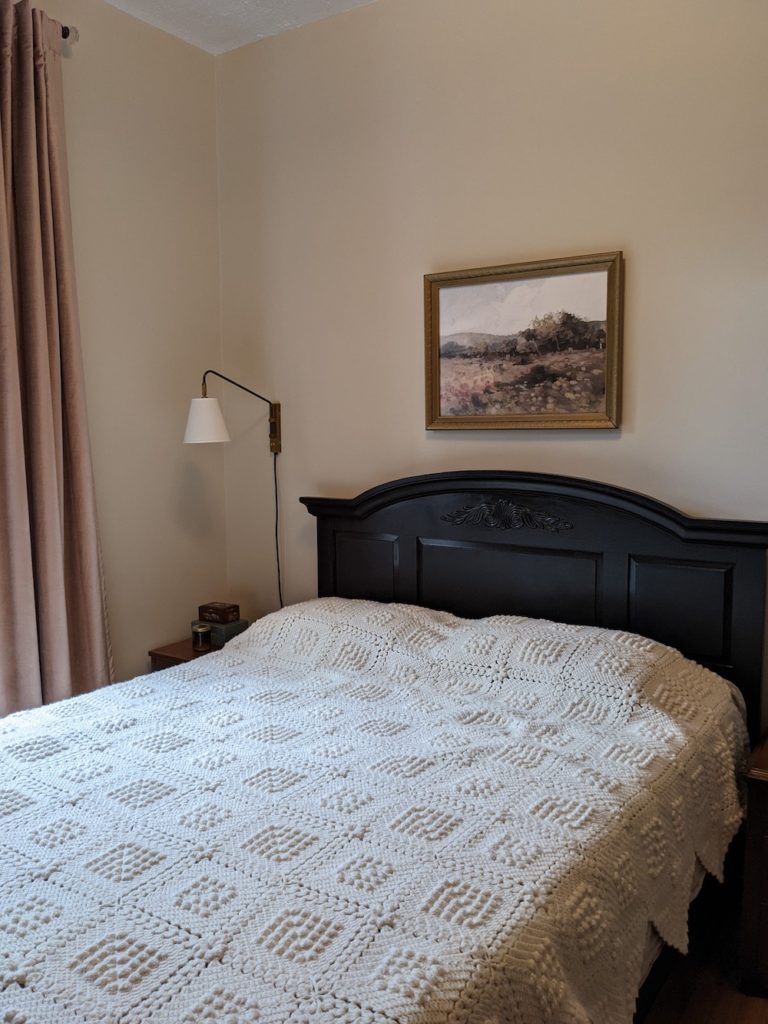
I didn’t seek out this project, but my husband recently came home from one of his building clean-outs with a bunch of old, empty frames, thinking that I might want to use or sell them. Around the same time, I bought an art print for our bedroom from Juniper Print Shop. I searched extensively for a vintage-look, gold frame online, but was having a hard time finding just what I wanted. What I found were modern gold frames or really ornate gold frames, but nothing in between. Those I liked best were pricey or custom, since it’s a larger print. Incidentally, one of the frames from my husband was the right size, so I decided that I really should just try to use the frame. After all, the frame looked more or less exactly like what I was looking for, and then I could salvage something rather than buy new.
I’m not going to lie, I wasn’t particularly excited to take on this project. I knew I’d need several supplies that I didn’t have and didn’t really know where to get, and I knew there’d be many steps. Allow me to break down the process in case it prevents you from feeling similarly overwhelmed about the idea of using an antique frame.
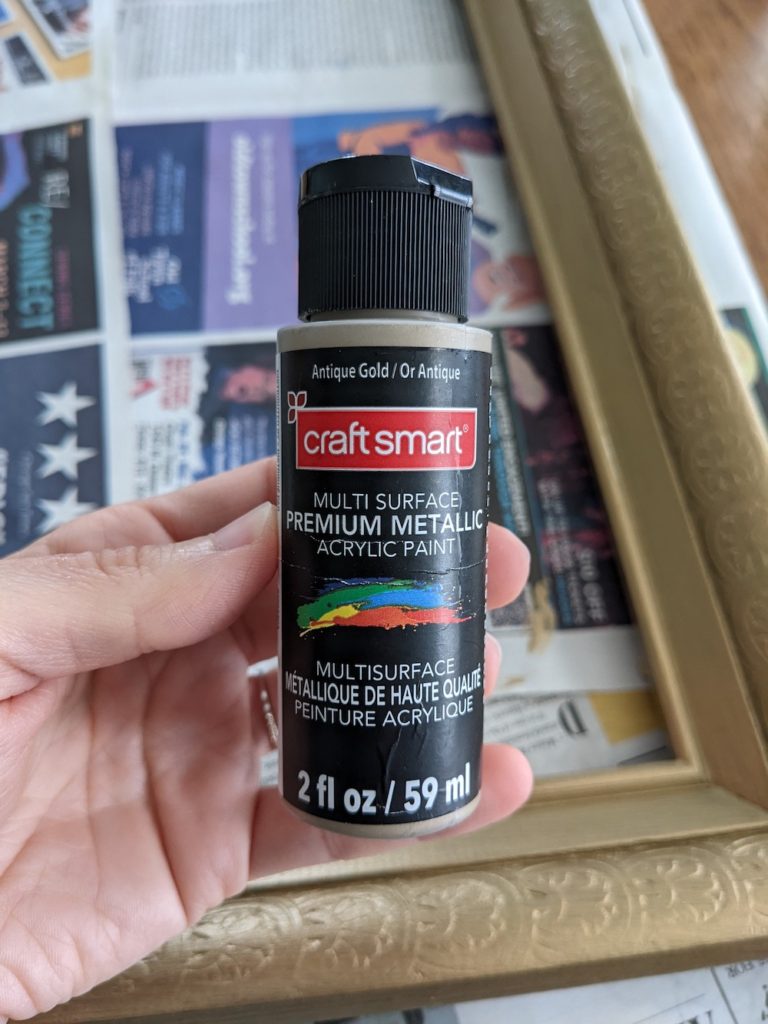
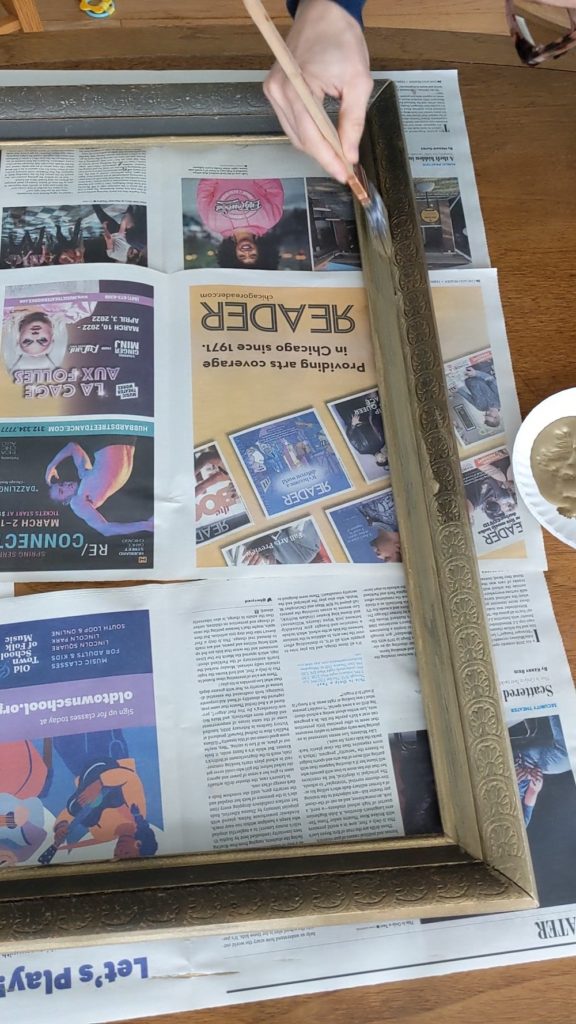
First, I painted the frame. Although it was painted the color I wanted, it was dingy and worn and needed a fresh coat. It needed two coats, actually, and I used acrylic craft paint which I bought from Michael’s. I bought two tubes of paint but only used one.
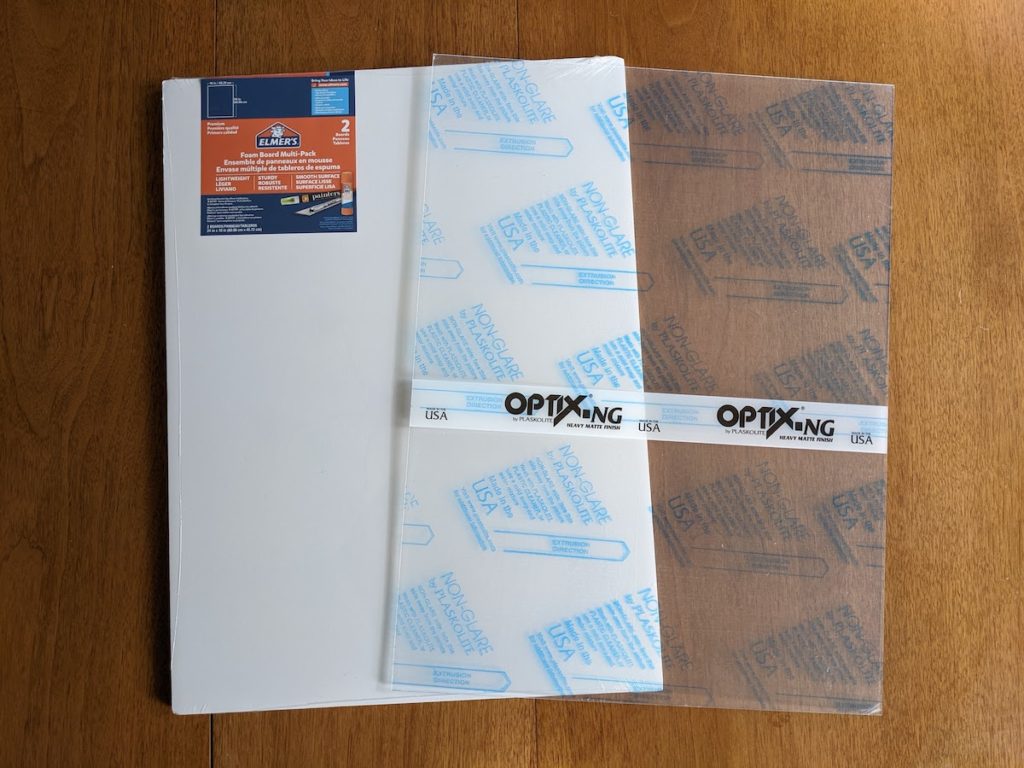
Then, I used an anti-glare acrylic (instead of glass), which I purchased from Blick Art Supplies. Many of the large frames I’ve purchased recently have come with acrylic, rather than glass, which I really like because it’s lighter and less fragile.
I also purchased a foam board for the backing that I didn’t end up using. I went back and forth about whether I actually needed to buy this or if I could just use a piece of cardboard. When the time came to install it, the foam board was slightly too thick, so I just used the cardboard that the acrylic front came in. I’m not sure if I’ll return the foam board or keep it for another project, but in any case, in the future I won’t bother buying foam board.
I already had the eye hooks and wire with my picture hanging hardware. I found this to be a great tutorial for attaching the hooks and wire to the frame.
Here is an overview of the supplies and prices:
- Antique wood frame: $0 (found in an abandoned building)
- Acrylic paint in Antique Gold: $1.79
- Paintbrush: $0 (already had)
- Clear acrylic sheet, 18×24”: $14.55 (paid $12.37 with code)
- Picture hanging hardware: $0 (already had)
- Felt pads to prevent wall damage: $0 (already had)
Total price: $14.16
DIY skill level: Easy
My honest review: This DIY project was worth it. Especially now that I know what to do for the future and know where to buy supplies, I imagine this project would be even easier and faster in the future. I wouldn’t seek this project out, but it’s a great option when a large frame is needed (framing this print with a similar, new frame would have cost at least $50) or when you find a vintage frame that you really just love.